 edory
edory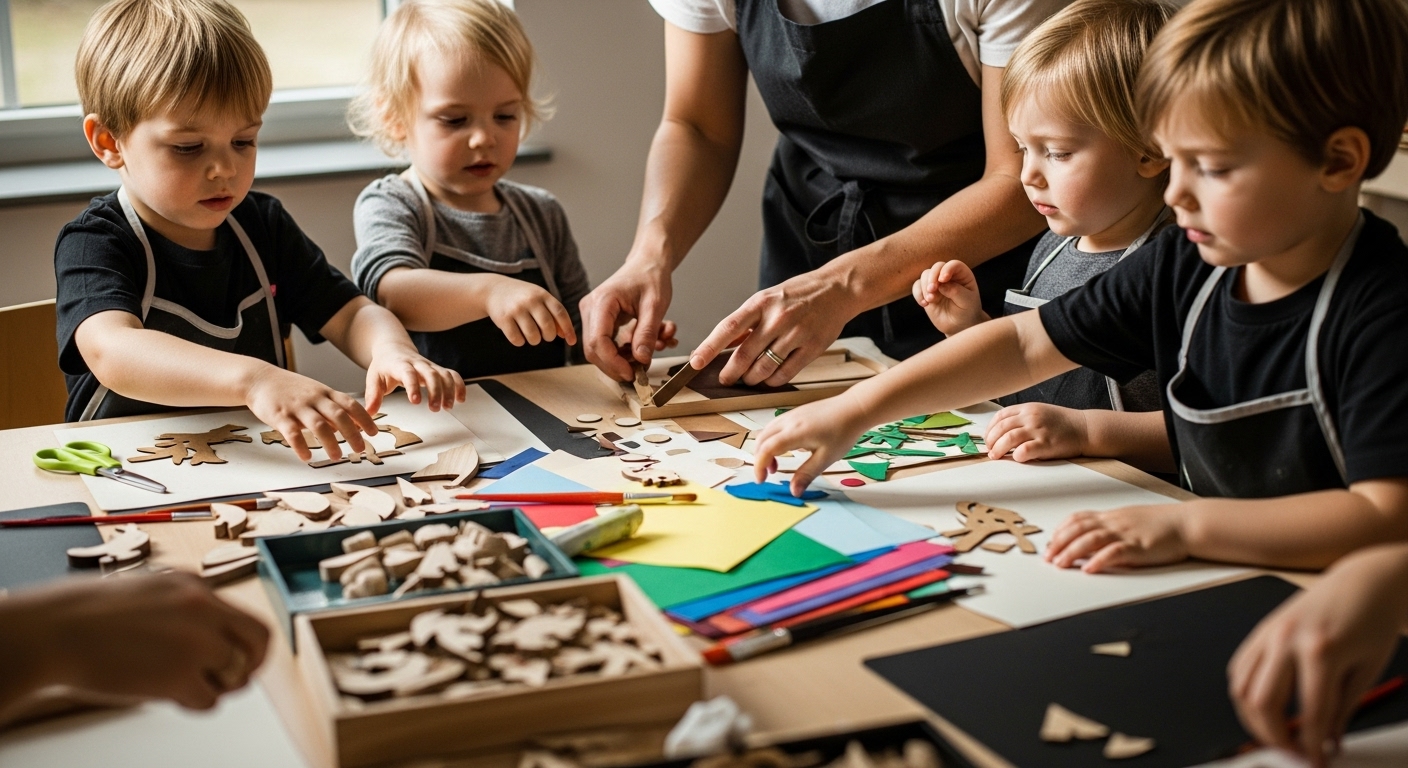
Kamishibai nativity scenes captivate children and make reading aloud an exciting experience. Many think that crafting requires expensive materials or complicated techniques. In fact, a sturdy cardboard box and colorful paper are often enough, because children as young as 3 years old eagerly immerse themselves in the Kamishibai world with simple means. Where should you start and what should you pay attention to so that a few craft materials become a real storytelling theater?
Table of Contents
- Step 1: Gather Materials for the Kamishibai Nativity Scene
- Step 2: Choose a Story for the Kamishibai Nativity Scene
- Step 3: Create Pictures and Illustrations
- Step 4: Assemble the Kamishibai Nativity Scene
- Step 5: Test the Kamishibai Story Performance
Quick Summary
| Most Important Point | Explanation |
|---|---|
| 1. Choose materials safely and appropriately | Use non-toxic and child-friendly materials without sharp edges to ensure children's safety. |
| 2. Choose a story suited to the target audience | Make sure the plot is clear and age-appropriate to capture children's interest. |
| 3. Design illustrations clearly and appealingly | Color choice and technique must be adapted to the target audience to encourage lively storytelling. |
| 4. Conduct a test performance with children | Observe children's reactions to improve storytelling technique and optimize the story. |
| 5. Incorporate interactive elements | Stories should allow room for questions and participation to promote language and social development. |
Step 1: Gather Materials for the Kamishibai Nativity Scene
Before you begin designing your Kamishibai nativity scene, it is crucial to gather the right materials. This first step forms the foundation for a successful and creative project that will fascinate and inspire children. High-quality materials are the key to an attractive and functional Kamishibai nativity scene.
To create a successful Kamishibai nativity scene, you first need some basic materials. Wooden boards or sturdy cardboard form the basic framework of your theater. These should be robust and easy to work with at the same time. Look for materials with a smooth surface that can be easily painted or glued. Additionally, it is recommended to have various colored paper, colored pencils, watercolors, brushes, and adhesive materials on hand.
As a special feature for your Kamishibai nativity scene, do not forget narrative elements. Our preparation guide for creative children's projects can help you choose the right materials. Keep in mind that children between 3 and 6 years old are particularly attracted to vibrant colors and interesting textures. Therefore, choose materials that appeal to multiple senses: smooth and rough surfaces, shiny and matte colors, as well as elements with different textures.
Pay attention to safety when selecting materials. Avoid sharp or pointed objects and use only non-toxic, child-friendly materials. Ideal are rounded edges and glues or paints specifically developed for children. Good preparation means not only the right choice of materials, but also their careful arrangement and accessibility during the creative process.
Below you will find a clear table that summarizes the most important materials for creating a Kamishibai nativity scene.
| Material | Description | Purpose/Function |
|---|---|---|
| Wooden boards/Cardboard | Sturdy, smooth surface | Basic framework for the storytelling theater |
| Various colored paper | Colorful, different textures | For illustrations, decoration |
| Colored pencils/Watercolors | Bright, non-toxic colors | Creating pictures and scenes |
| Brushes | Different sizes | Applying colors and details |
| Adhesive materials | Child-friendly, non-toxic | Attaching paper, pictures, etc. |
| Safety materials | Rounded edges, child-safe products | Protection and accident prevention |
| Narrative elements | Figures, backgrounds, accessories | Storytelling details |
By the end of this step, you should have completed the following checklist:
- All necessary materials gathered
- Work area prepared
- Child-friendly and safe material selection made
With these preparatory steps, you are ready to tackle the next phase of your Kamishibai nativity scene: creative design and planning.
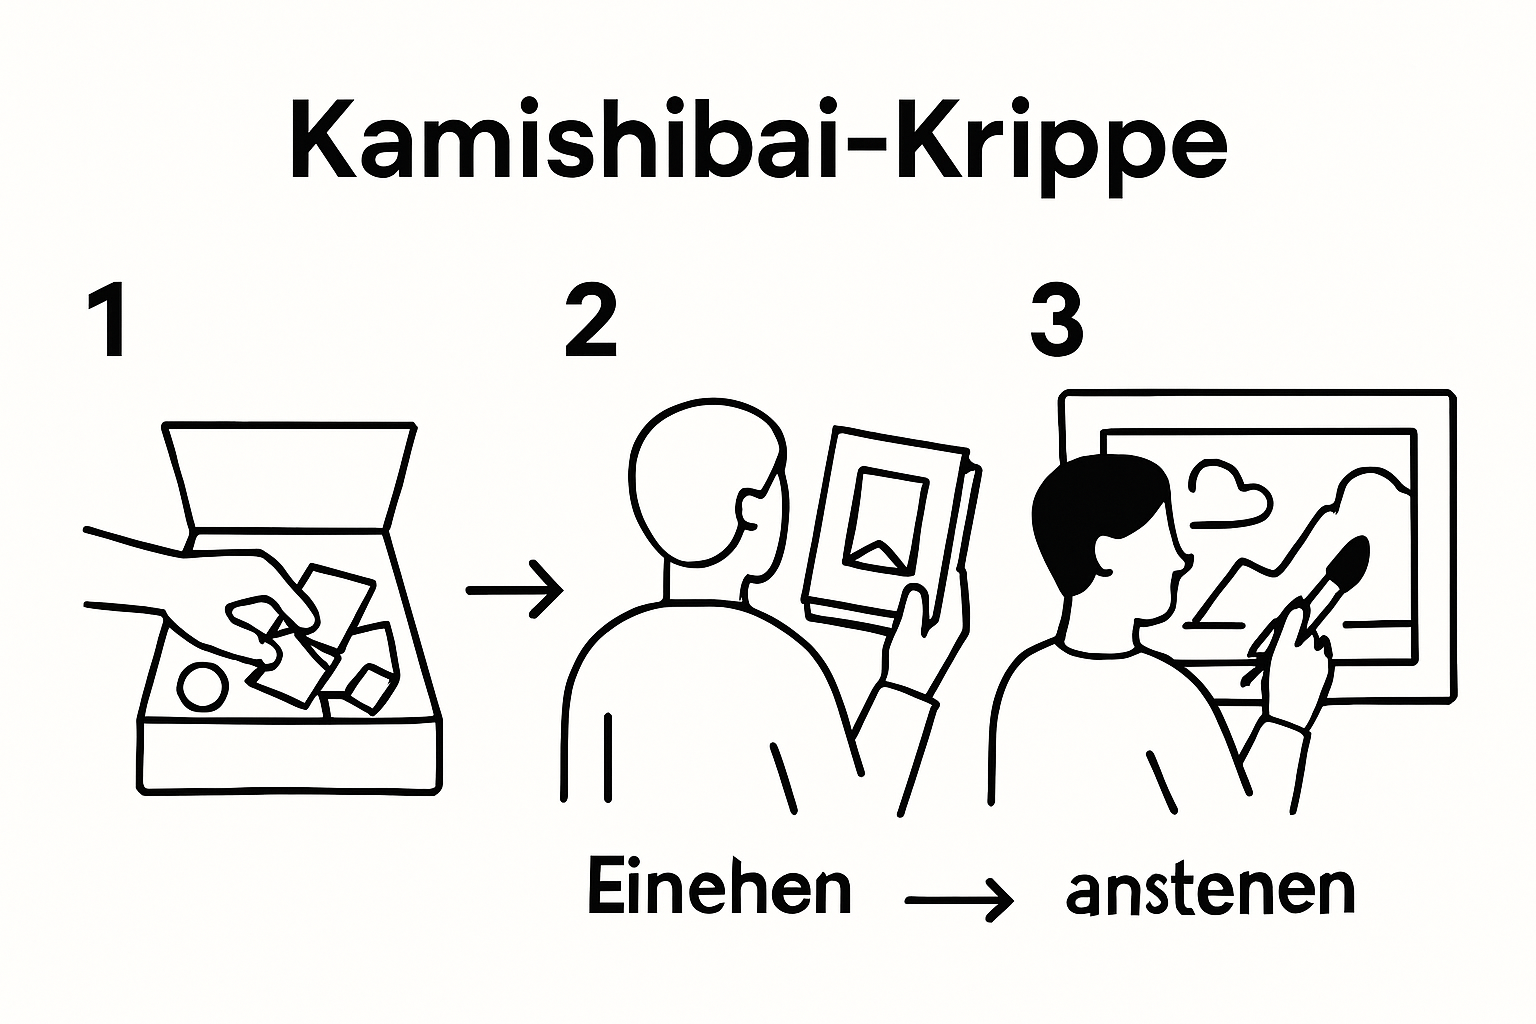
Step 2: Choose a Story for the Kamishibai Nativity Scene
Choosing the right story is the heart of your Kamishibai nativity scene and is crucial to the success of the entire project. A well-chosen story can enchant children, inspire their imagination, and at the same time convey important educational messages. In this step, the goal is to find a story that captures children's attention while matching their developmental stage.
Start by considering the age and interests of your target audience. For children between 3 and 6 years old, stories with simple, clear plot lines, lovable characters, and a positive message are particularly suitable. Make sure the narrative is not too complex, but still contains enough suspense and surprising moments to capture the attention of the little ones. Our preparation guide for creative children's projects can help you find the right balance.
When looking for a suitable story, there are several options. Classic fairy tales often offer timeless lessons and familiar structures that orient children. At the same time, modern children's stories with current themes and more diverse characters can spark children's imagination even more. Make sure the story conveys moral values while being entertaining—such as themes of friendship, courage, helpfulness, or respect.
A good Kamishibai nativity scene thrives on interaction between storyteller and listeners. Therefore, choose a story that leaves room for conversation and questions. Stories with recurring elements or refrains are particularly well-suited, as they encourage children to participate and speak along. This not only promotes language development but also makes the storytelling experience interactive and lively.
By the end of this step, you should have fulfilled the following criteria:
- Story matches the age of the target audience
- Plot is understandable and exciting
- Moral message is clear
- Story allows room for interaction
With careful story selection, you have laid the groundwork for an unforgettable Kamishibai nativity scene and are ready for the next design steps.
This table provides a practical overview of all the main steps in creating a Kamishibai nativity scene, as well as their focal points and objectives.
| Step | Focus | Objective |
|---|---|---|
| Gather materials | Child-friendly materials, safety | Foundation for creativity and safe use |
| Choose story | Age-appropriate, moral message | Enthusiasm and educational impact |
| Create illustrations | Child-friendly colors, clear depictions | Fascinating visual presentation |
| Assemble nativity scene | Stability, mobility, safety | Durable and versatile storytelling stage |
| Test performance | Observation, feedback, optimization | Best possible storytelling experience for children |
Step 3: Create Pictures and Illustrations
Creating the pictures and illustrations is the most creative and exciting section when designing your Kamishibai nativity scene. In this step, you transform your selected story into visual artworks that will enchant children and inspire their imagination. The illustrations are more than just pictures—they are the key to making the narrative come alive and compelling.
Choose your painting and drawing techniques carefully. Watercolors are excellent for soft, dreamlike depictions, while colored pencils or felt-tip pens create clear and vibrant outlines. Experiment with different materials to underscore the mood of the story. Our preparation guide for creative children's projects can help you find the right artistic technique.
When designing, make sure that each picture supports a clear narrative sequence. The illustrations should visualize the story step by step while highlighting important emotional moments. Focus on details that fascinate children: facial expressions of characters, exciting action moments, or surprising plot twists. The images should be large enough to recognize details, but not so complex that they overwhelm children's attention.
An important technique is the use of clear, contrasting colors that capture children's attention. Avoid too many details that could distract from the main action. Each image should tell a story of its own while fitting seamlessly into the overall narrative. Remember that children between 3 and 6 years old are particularly receptive to visual stimuli.
When preparing the illustrations, it is advisable to first create sketches. Make notes on how the images build on each other and what perspectives you want to choose. A storyboard can be very helpful in planning the image flow.
By the end of this step, you should have fulfilled the following criteria:
- All illustrations are completed
- Images tell a coherent story
- Colors and techniques are child-friendly
- Each image contributes to the overall narrative
With carefully designed illustrations, you have laid the foundation for a magical Kamishibai nativity scene that will enchant and inspire children.
Step 4: Assemble the Kamishibai Nativity Scene
Now comes the most exciting moment: assembling your Kamishibai nativity scene. This step transforms your carefully prepared materials and illustrations into a functional storytelling theater that opens a magical world of experience for children. Assembly requires precision, creativity, and a bit of craftsmanship.
The frame forms the foundation of your Kamishibai nativity scene. Use sturdy wooden boards or strong cardboard as the basic framework. Make sure the side panels are exactly at right angles to each other and form a stable structure. Our preparation guide for creative children's projects can provide helpful tips for precise construction. The back should be about 10 centimeters wider than the front openings to ensure a stable stand.
When attaching the illustrations, care is required. Use child-friendly adhesives that are residue-free and safe. The images should be attached so they can be easily replaced without creating sharp edges. Make sure the illustrations are applied smoothly without bubbles or wrinkles. A smooth surface allows for better movement when presenting the story.
An important consideration is the mobility of the frame. The Kamishibai frame should be easy to transport and set up. If possible, integrate folding or locking mechanisms that simplify assembly and disassembly. This makes your nativity scene flexible and allows you to present the stories in different locations—whether at home, in kindergarten, or at family gatherings.
Pay attention to safety in the construction. All edges must be rounded or covered to minimize injury risks. Use non-toxic materials and ensure that no pointed screws or sharp edges protrude. Stability is crucial—the frame should be robust enough to withstand multiple uses and children's enthusiasm.
By the end of this step, you should have fulfilled the following criteria:
- Frame is stable and properly constructed
- Illustrations are securely and smoothly attached
- All edges are rounded and safe
- Theater is easy to transport
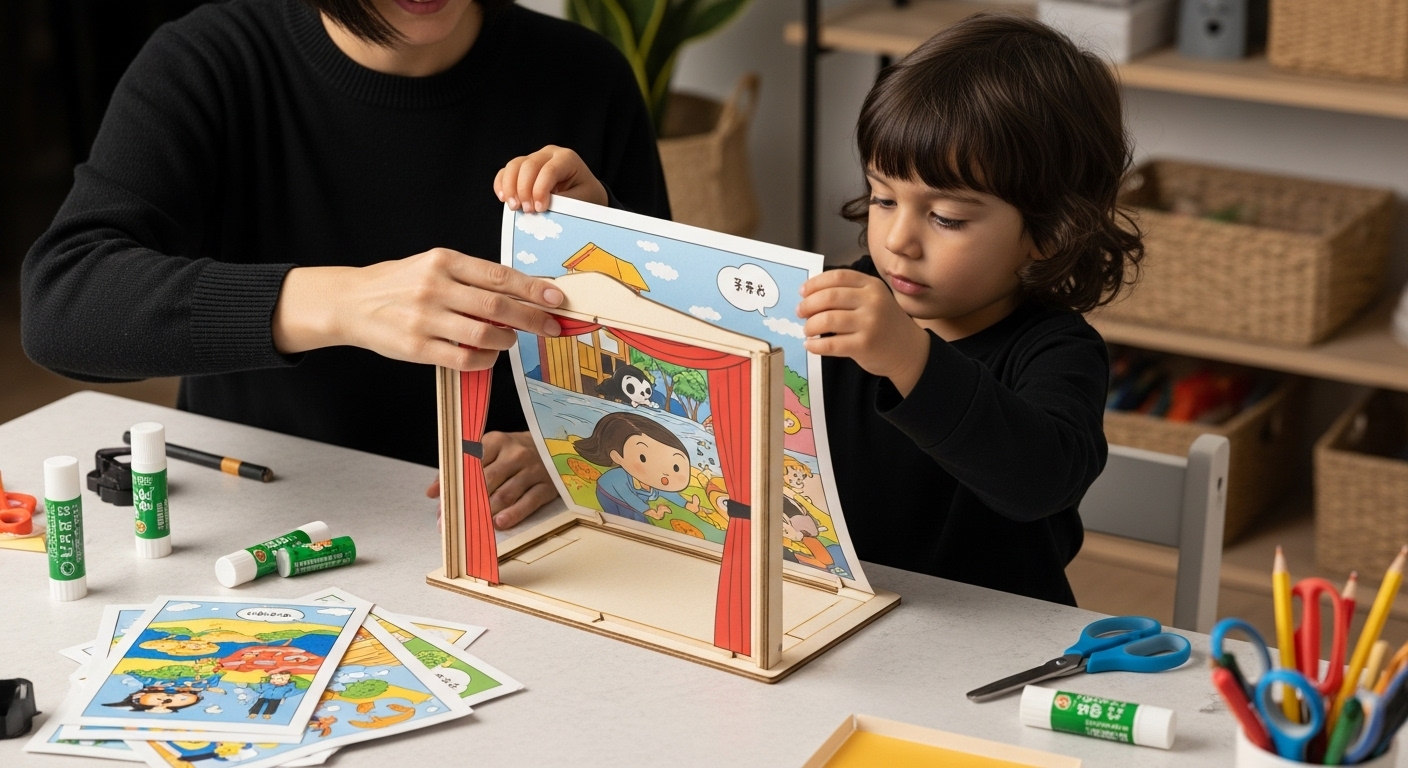
With the assembly of your Kamishibai nativity scene, you have created a unique storytelling tool that will give children unforgettable moments of imagination and creativity.
Step 5: Test the Kamishibai Story Performance
The moment of truth has arrived: the first performance of your Kamishibai nativity scene. This step is crucial to check whether your careful preparation achieves the desired magical effect on children. The test performance helps you refine the story and optimize the storytelling experience.